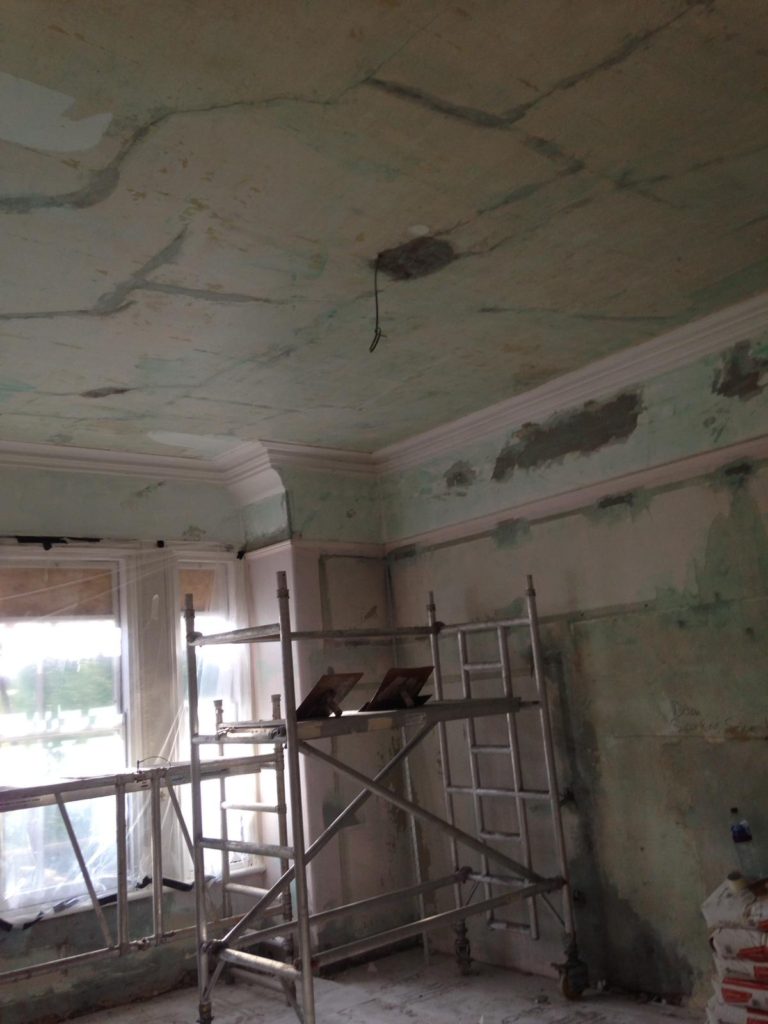
A huge part of internal plastering is making sure your wall/ceiling has the correct background preparation. It is vital that it is done correctly. Knowledge is crucial it’s gained through the years of being experienced plasterers.
Checking walls/ceiling
Checking properly is more then visually looking at the wall/ceiling. Obviously there is a reason why the area needs plastering. It maybe that it’s rough and needs a reskim, it could be full of cracks, it could even be back to the brick etc.
This is example is based on a room that needs fully reskimming. After the sheeting up has been done. Please see my earlier blog ( how to prepare prior to plasterwork).
- Tap or knock the wall for hollow spots. If any are found the spot will need knocking off back to brick. Then filling with a backing plaster like bonding, browning, hardwall etc.
- Check for cracks. If any are found they need racking out then filling with backing plaster. Also applying scrim tape over the joint.
- Applying PVA or Thistle Bond-it, or Blue Grit
We tend only to use PVA on small jobs that need completing the same day. The PVA mix depends on area i.e. Strong suction wall needs a strong mix or a low suction wall needs a weaker mix. Always apply two coats making sure no where is missed.
We prefer to use Thistle bond it or blue grit. These products may be a touch dearer but we believe it’s well worth it. These products seal the wall leaving grit that makes a great key for skimming. It’s great on some of the smoothest low suction backgrounds.
In general failure to prepare is preparing to fail. Preparation is vital if done incorrectly it’s pointless getting the job done in the first place. Your in safe hands with Approved Plastering Systems. Each team member has a minimum 15 years or more experience in the trade. We get the job right first time every time .
Shaun and Daniel
Approved Plastering Systems


